Showing posts with label cubase. Show all posts

Sunday, July 24, 2016

"Courage" Remix Contest Entries

I recently sponsored a remix contest for a track called "Courage" that Urban Francis and I put together.  We were overwhelmed by a flood of entries for the contest!  We had more than a hundred entries, which was a LOT more than we expected.  Narrowing down a final winner was pretty difficult.  Here's what we did:

Urban Francis picked about fifty of his preferred tracks, and we shared those with eight of our friends who are music producers or DJ's.  Each of those eight friends got to pick two tracks out of the group.  One track would become a finalist, and another was a "noteworthy entry" that didn't make it as a finalist, but which our panel judge felt deserved more exposure.  We then pitted the eight finalists against each other to come up with a final winner.


In judging a winner, the judging panel looked at a number of factors, but mostly the following four considerations:

1. Creativity - Any genre was acceptable, and we were really pleased with the variety that we got!
2. Professional Sounding Production - Does the remix sound like it's ready for professional mastering?
3. Identifiable - Does the remix have some identifiable elements of at least one of the original mixes, either vocal samples and/or melody lines or chord progressions?
4. Playability - Is the track a suitable choice for a DJ or radio programmer to include in a set or a show?
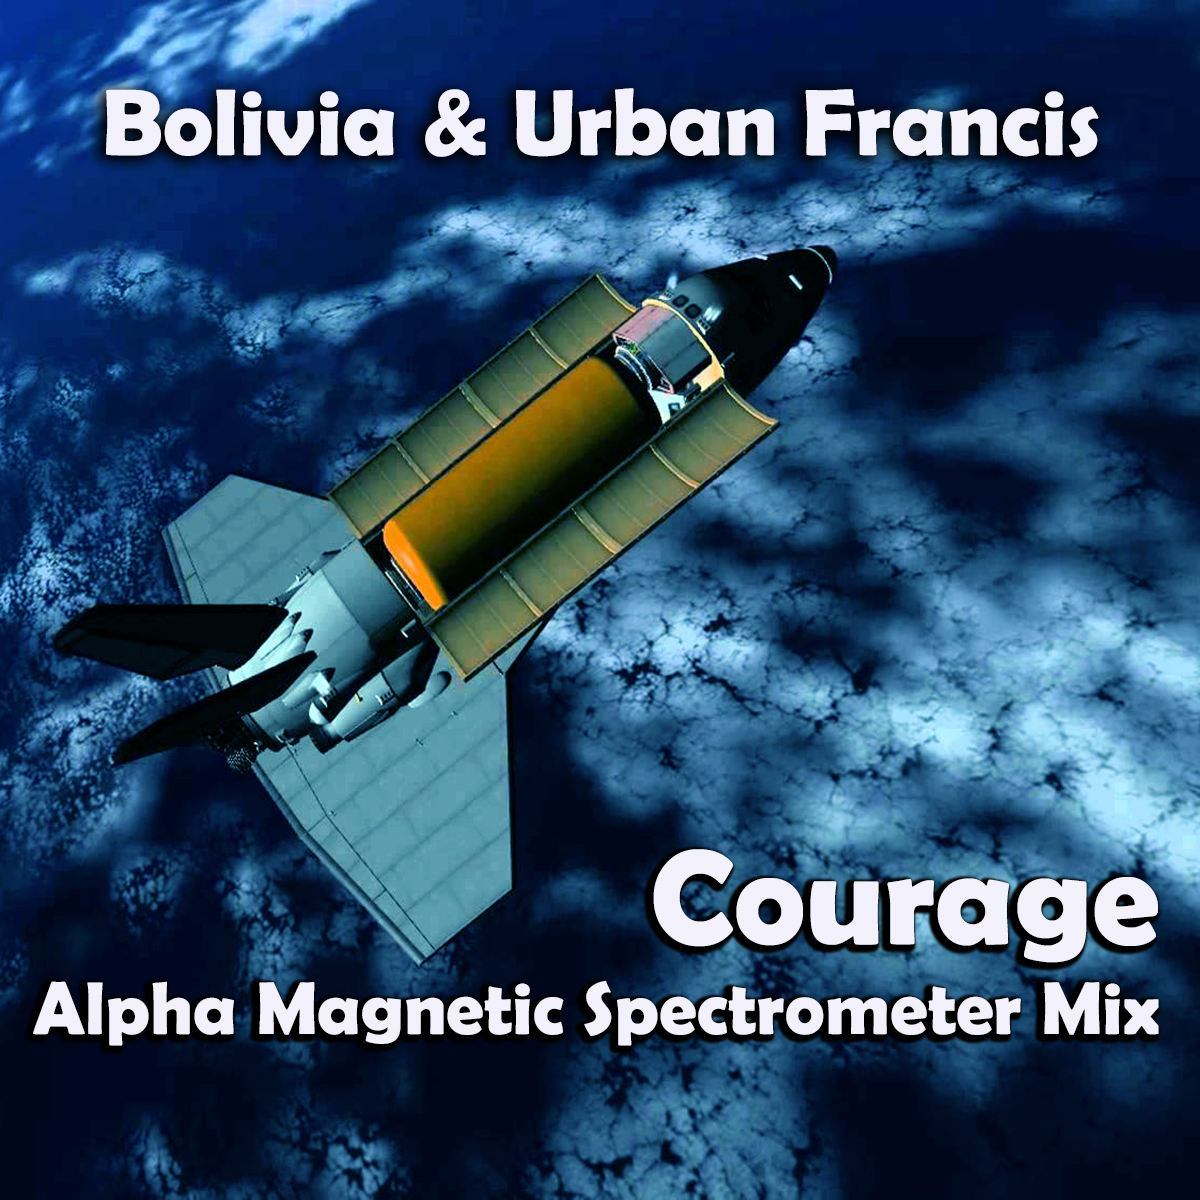

The final winner that was picked was a mix by Lazarus, of New York.  We'll feature it first in this post.  But we also wanted to share the other tracks submitted by the other seven finalists, and the eight noteworthy entries that were picked, so we're including SoundCloud links in the this post to all of these sixteen tracks.  All of these are downloadable, so feel free to grab copies and share them with your friends.


WINNING ENTRY

Lazarus (New York)
  SoundCloud:  www.soundcloud.com/lazarus


FINALISTS
(In no particular order)


Nelson D (Sao Paulo, Brazil)
  SoundCloud:  www.soundcloud.com/nelson-d
  Facebook:  www.facebook.com/Nelson-D-423492404398619


Paul Why (United Kingdom)


Xudeus (Sweden)
  Soundcloud:  www.soundcloud.com/xudeus


Faith (Italy)


DaanDee (Ukraine)
  SoundCloud:  www.soundcloud.com/daandeemusic


Brahmox (India)
  SoundCloud:  www.soundcloud.com/thereal-brahmox


Jackson Laframboise (Canada)


NOTEWORTHY ENTRIES

XY!RO (country unknown)
  SoundCloud:  www.soundcloud.com/xyiro


Tribal Heart (Czech Republic)
  SoundCloud:  www.soundcloud.com/tribalheart


Tightrops (France)


Split Armada (Estonia)
  Facebook:  www.facebook.com/splitwert
  SoundCloud:  www.soundcloud.com/splitarmada


Splashed (Portugal)
  SoundCloud:  www.soundcloud.com/splashedmusic
  Facebook:  www.facebook.com/iamsplashed


Eduard Fawkes (Hungary)
  SoundCloud:  www.soundcloud.com/eduardfawkes


Aspasia P (Germany)
  SoundCloud:  www.soundcloud.com/aspasia-p


Karl Parker (Sweden)
  SoundCloud:  www.soundcloud.com/karlparker
  Twitter:  www.soundcloud.com/karlparker


MORE INTERESTING ENTRIES
(Here a few of the other entries that we liked)


And Here Are The Original Mixes


You can also grab copies of all of these tracks (and of our original Ableton project files for this track) from our public Dropbox folder at this link:


You can also see a number of YouTube videos explaining our production of the original project by visiting this link:


I have to give a huge thanks, on behalf of myself and Francis, to everyone who submitted entries.  Above and beyond the sixteen tracks that we've featured above, I've already heard a number of really professional sounding other entries, and it's obvious that a lot of participants put a lot of time and effort into making their productions.  There were a lot of entries, including some that aren't featured above, that could arguably be judged winners!

I'm currently doing forestry work in the Canadian bush, so I haven't had much time to be heavily involved in this contest.  However, I have a few weeks of downtime in early August, and my first goal is to listen to every single track that was submitted, and I'll be sharing a few more of the remixes in our Dropbox folder at that time.

Thanks for your interest in this remix contest!


I'm Jonathan Clark, known online as DJ Bolivia.  Do you want to learn more about DJ'ing and music production?  If so, visit:


If you happen to enjoy techno tracks, most of my tracks are available as free downloads from this link:


Thanks so much for visit, and for your support!  I really appreciate the fan base that I've been able to build up over the years.

Also, if you want to visit any of my other sites, here are a few links:
    YouTube:  youtube.com/djbolivia
    SoundCloud:  soundcloud.com/djbolivia
    Blogger:  djbolivia.blogspot.com
    Main Site:  www.djbolivia.ca

Thursday, January 28, 2016

Learn to Produce Music - "Courage" Progressive House Tutorial Series (Ableton Live)

I recently did a collaboration with Urban Francis to create a comprehensive video tutorial series about the production of a progressive house track. The track is called "Courage." We've made the entire project file available for everyone as a free download! We're encouraging producers to remix and share our track freely. To find more information about the music production in Ableton, go to this link:


For the "Courage" track, I'm going to start by providing an index of clickable links to all of the content in the five videos, so you can find certain sections faster if you're referring back to the videos for additional review.


Here is the clickable index. Click on the timing numbers down the left side, and it will open the relevant video at the correct starting time.


Part 1 of 5 - General Overview of the "Courage" Progressive House Track

00:00 - Introduction. What's this about?
04:13 - Overview of the scope of the project.
10:40 - Introduction to Urban Francis.
14:58 - Permission to remix and share the track.
21:59 - Technical notes: OS, DAW, plug-ins.
26:43 - Making elements stand out within your mix.
34:26 - Overview of the track in Ableton's arrangement view.


Part 2 of 5 - The Rhythm Section: Kicks, Snares/Claps, Hi Hats

00:00 - Introduction.
02:02 - Play through of full track.
09:54 - Overall overview of all drum instruments.
18:47 - The importance of variety in your track. Make it evolve.
21:25 - Overview of kick drum group.
26:00 - Effects chains and processing of kicks.
38:32 - Overview of snares/claps group.
41:32 - Effects chains and processing of snares/claps.
43:12 - Overview of hi hats group.
49:51 - Effects chains and processing of hi hats.


Part 3 of 5 - The Bass Tracks, Pianos, and Guitars

00:00 - Introduction.
01:46 - Overview of the bass lines.
08:55 - Effects chains and processing of the bass.
17:58 - How to resample a part.
32:51 - Examination of the piano/keys.
39:36 - Overview of the guitars.
43:45 - Effects chains and processing of the guitars.
46:50 - Audio effect racks and key mapping.
49:36 - Recording automation in real time.
50:55 - Editing automation by hand.


Part 4 of 5 - Chords, Melody, Pads, Vocals, and Effects

00:00 - Introduction.
01:45 - Overview of the chords/melody group.
09:14 - Effects chains and processing of the chords/melody.
12:33 - Adding a "track delay" timing offset.
17:26 - Overview of the pads and effects.
23:06 - Effects chains and processing of the chords/melody.
30:11 - Overview of the vocals.
38:55 - Automation inside a clip vs. on a track/channel.
40:16 - Slicing a sample to MIDI notes.


Part 5 of 5 - The Send/Returns, Master Track, and Tips for Producers

00:00 - Introduction.
01:35 - Details about all of the sends/returns.
17:58 - Overview of the master track.
23:22 - Exporting a final mixed-down audio track.
27:25 - Tips for producers.
32:52 - Using group folders for project volume control.
38:47 - Five subjects that upcoming producers must understand.
46:52 - Final thoughts.
49:14 - Contacting Urban Francis about collaborations.


Here are links to various versions of the track on SoundCloud. All may be downloaded and shared freely:


The full project files for this track, along with a comprehensive stems & samples folder and other material for producers/remixers, can be downloaded from my DropBox account at: djbolivia.ca/dropbox

If you remix a version of this track, we hereby give you permission to share it freely (in a non-commercial sense) on all of your social media and other websites, with no restrictions, as long as you name and share the track using the following filename format:

Bolivia & Urban Francis - Courage (YOUR NAME remix)


For commercial applications (ie. release on commercial CD compilations, placement in television/film), please contact us to arrange licensing. For release of your remixes on paid sites such as Beatport, Amazon, we'll probably allow you to earn the money off your remixes, but we'd like to be contacted about it first to confirm this, so we know which labels are distributing remixes and what the remixes sound like.


If you find these tutorials to be useful, we'd really appreciate if you could please share this post with other producers, or share my full list of tutorial and other music-related videos from djbolivia.ca/videos. Thanks for watching!


I'm Jonathan Clark, known online as DJ Bolivia.  Do you want to learn more about DJ'ing and music production?  If so, visit:


If you happen to enjoy techno tracks, most of my tracks are available as free downloads from this link:


Thanks so much for visit, and for your support!  I really appreciate the fan base that I've been able to build up over the years.

Also, if you want to visit any of my other sites, here are a few links:
    YouTube:  youtube.com/djbolivia
    SoundCloud:  soundcloud.com/djbolivia
    Blogger:  djbolivia.blogspot.com
    Main Site:  www.djbolivia.ca

Friday, January 16, 2015

Review of a USB "Shortcut Hint" keyboard by Logickeyboard

For users who frequently jump back and forth between several complicated editing suite programs (audio, video, photo, etc.) it can be really hard to memorize all of the hundreds of short-cuts that can really speed up your workflow.  Logickeyboard makes "shortcut hint" keyboards that list all the shortcuts for a specific program right on your keyboard.


The type of keyboard that I got was a "Nero Slim Line" keyboard, US style, for Adobe Premiere Pro.  US style has the full-size shift key on the right.  European style only has a small shift key on the right.  Here's the video about this keyboard:


A couple of the key points that I love about this keyboard are:
- You can plug a USB light into it, to illuminate the keyboard.
- It has TWO each of the four main modifier keys:  Alt, Ctrl, Flying Windows, and full-size Shift.

One thing I didn't like about this keyboard was:
- The price.  This is designed and priced for professionals.  Mine was $135 base price, but with shipping and customs (from Britain) it cost me almost $200.  Too much.


Logickeyboard has keyboards for the following long list of programs in a variety of styles, for Mac and/or Windows depending on the program, various colours, various keyboard profiles, and so on:

Apple Final Cut
Adobe After Effects
Adobe Premiere Pro
Apple Color
Autodesk SMOKE
Avid Media Composer
Avid NewsCutter
DaVinci Resolve
Editshare Lightworks
Grass Valley Aurora
Grass Valley EDIUS
Pinnacle Liquid
Quantel
Sony Vegas Pro
Sony Sonaps XPRI NS
Ableton Live
Adobe Audition
Apple Logic Extended
Apple Logic Preset
Avid Pro Tools
Avid Sibelius
Cakewalk Sonar
MakeMusic Finale
MOTU Digital Performer
Steinberg Cubase & Nuendo
Adobe Illustrator
Adobe Lightroom
Adobe Photoshop
Apple Aperture
Maxon Cinema 4D Studio
Apple Boot Camp
Apple Parallels
and other specialty keyboards


I'm Jonathan Clark, known online as DJ Bolivia.  Do you want to learn more about DJ'ing and music production?  If so, visit:


If you happen to enjoy techno tracks, most of my tracks are available as free downloads from this link:


Thanks so much for visit, and for your support!  I really appreciate the fan base that I've been able to build up over the years.

Also, if you want to visit any of my other sites, here are a few links:
    YouTube:  youtube.com/djbolivia
    SoundCloud:  soundcloud.com/djbolivia
    Blogger:  djbolivia.blogspot.com
    Main Site:  www.djbolivia.ca

Sunday, January 4, 2015

Simple Audio Editing Tutorial

I've been working on a couple of microphone review videos this weekend, and in each, I did a bit of audio editing of test recordings. These weren't high-quality comparison testing recordings, where the microphones were lab-tested against competing brands, just short tests of a few of my favorite current microphones (studio condenser mics, a lav mic, and a shotgun mic).


In each of the videos, I did some simple audio editing to tidy up the video, similar to what I might have done if I was using the audio in a project. The steps included some basic noise reduction, some equalization, and adding a light touch of reverb. To spare the effort of explaining what I was doing in each microphone video, and keep them shorter, I figured that I'd do a separate video to explain those steps in detail, so just the people who were curious could learn more, and it wouldn't detract from the microphone reviews. Here is that video:


Later this week, I'll add links to some of those other microphone review videos here, for anyone who is curious. Here's the first one:


I also referred to another tutorial during the middle of this video. Here's a link to that other tutorial, which talks in even more detail about basic editing of voiceovers for DJ mixes and other spoken word editing:


I'm Jonathan Clark, known online as DJ Bolivia.  Do you want to learn more about DJ'ing and music production?  If so, visit:


If you happen to enjoy techno tracks, most of my tracks are available as free downloads from this link:


Thanks so much for visit, and for your support!  I really appreciate the fan base that I've been able to build up over the years.

Also, if you want to visit any of my other sites, here are a few links:
    YouTube:  youtube.com/djbolivia
    SoundCloud:  soundcloud.com/djbolivia
    Blogger:  djbolivia.blogspot.com
    Main Site:  www.djbolivia.ca

Saturday, January 18, 2014

Editing Breakdowns in Dance Music Tracks

I just put together a pair of videos that will teach you how to cut breakdowns out of dance music tracks. And then I added a third video, which is even more useful, to show you how to enhance breakdowns by adding extra loops or other clips (basic remixing). If you're a DJ, you might find these to be pretty useful. But before I begin, what exactly is a breakdown and why might you want to remove it? Well, in simple terms, a breakdown is a short section of a song that's a lot quieter than the rest of the track. It probably has no bass or kick drum, or maybe no rhythm at all. If you're on the dance floor, this is the section where you suddenly have less structure to guide you, and it gives you a moment to catch your breath.

Breakdowns aren't necessarily bad. I find that they're often the most interesting part of a song. If I'm playing to a captive audience where most listeners are driving, studying, working out, going for a run, etc., then I prefer to leave the breakdowns in place. And even on a packed dance floor, it's nice to play an occasional breakdown to give the dancers a few seconds to catch their breath. But when the dance floor is packed, I don't want to play several breakdowns in every song I play. That's too much "down time." So I'll cut a lot of breakdowns out, which lets me keep the energy levels higher on the dance floor. Or, as you can see from the third video, sometimes a better approach than cutting out a breakdown is to spice it up by adding a strong back beat to it.


I have three videos to describe everything you need to know. They go through all the technical steps in enough detail that you should be able to figure out how to edit/remove breakdowns using common audio editing software. The first video covers the process in depth, and the second video shows a faster way to remove sections of a track if you're an Ableton user. The third is probably the best (but you should watch the other two first) because it will start to teach you basic remixing techniques:


I'm Jonathan Clark, known online as DJ Bolivia.  Do you want to learn more about DJ'ing and music production?  If so, visit:


If you happen to enjoy techno tracks, most of my tracks are available as free downloads from this link:


Thanks so much for visit, and for your support!  I really appreciate the fan base that I've been able to build up over the years.

Also, if you want to visit any of my other sites, here are a few links:
    YouTube:  youtube.com/djbolivia
    SoundCloud:  soundcloud.com/djbolivia
    Blogger:  djbolivia.blogspot.com
    Main Site:  www.djbolivia.ca

Wednesday, September 15, 2010

Outputting or Importing MIDI from Groove Agent to a DAW

A lot of people have played with Steinberg's "Groove Agent" plug-in, and found it to be pretty handy for putting together a "quick and dirty" drum beat when producing tracks, whether they be classic rock, hip hop, pop, trance, or any of a couple dozen other genres. However, many people don't know how to do one of the basic tricks that makes this software especially useful.

Instead of playing Groove Agent as a stand-alone unit, and physically recording the output, or instead of using it as a VSTi plug-in within a host DAW such as Cubase, Sonar, Ableton, or a number of other audio editors, you can actually convert a "live" performance into a .MID file. This MIDI file can then be directly loaded into one of the tracks of your DAW. What's the advantage to this? Well, it obviously means that all of a sudden, you can more easily customize the "live" performance that you recorded on-the-fly by moving MIDI data around within the sequencer grid.


The problem is that it isn't extremely obvious about how to do this. Here's how:
- Load Groove Agent as either as stand-alone, or as a VSTi within your host.
- Go into the edit panel, and then into the setup panel.
- Switch MIDI output from "off" to "on."
- Switch from "live" to "file."
- Make sure your host (if VSTi) is at the proper master tempo.
- Choose your initial settings on Groove Agent.
- Hit "run," then play for a while. Hit stop when you're done.

Now, here's the catch: Where's the MIDI file? That's the problem. There is none! There is no "save to" location option. There is no file created.

Now, to solve this problem, turn the MIDI output switch to "off." When you do this, THEN the midi file is created. It automatically ends up on your desktop, as "Groove Agent Output.mid." You can then drag & drop this file back into your DAW for full-scale editing.

Remember to put it onto a track which triggers the Groove Agent if you want the same drumkit to sound. Of course, you can also load it onto a track and then load your own kit patch.

It's quite simple, once you know that you have to turn the MIDI output switch back off before the file is created.


I'm Jonathan Clark, known online as DJ Bolivia.  Do you want to learn more about DJ'ing and music production?  If so, visit:


If you happen to enjoy techno tracks, most of my tracks are available as free downloads from this link:


Thanks so much for visit, and for your support!  I really appreciate the fan base that I've been able to build up over the years.

Also, if you want to visit any of my other sites, here are a few links:
    YouTube:  youtube.com/djbolivia
    SoundCloud:  soundcloud.com/djbolivia
    Blogger:  djbolivia.blogspot.com
    Main Site:  www.djbolivia.ca